Try Miriam’s Shabby Chic Valentine’s Crafts

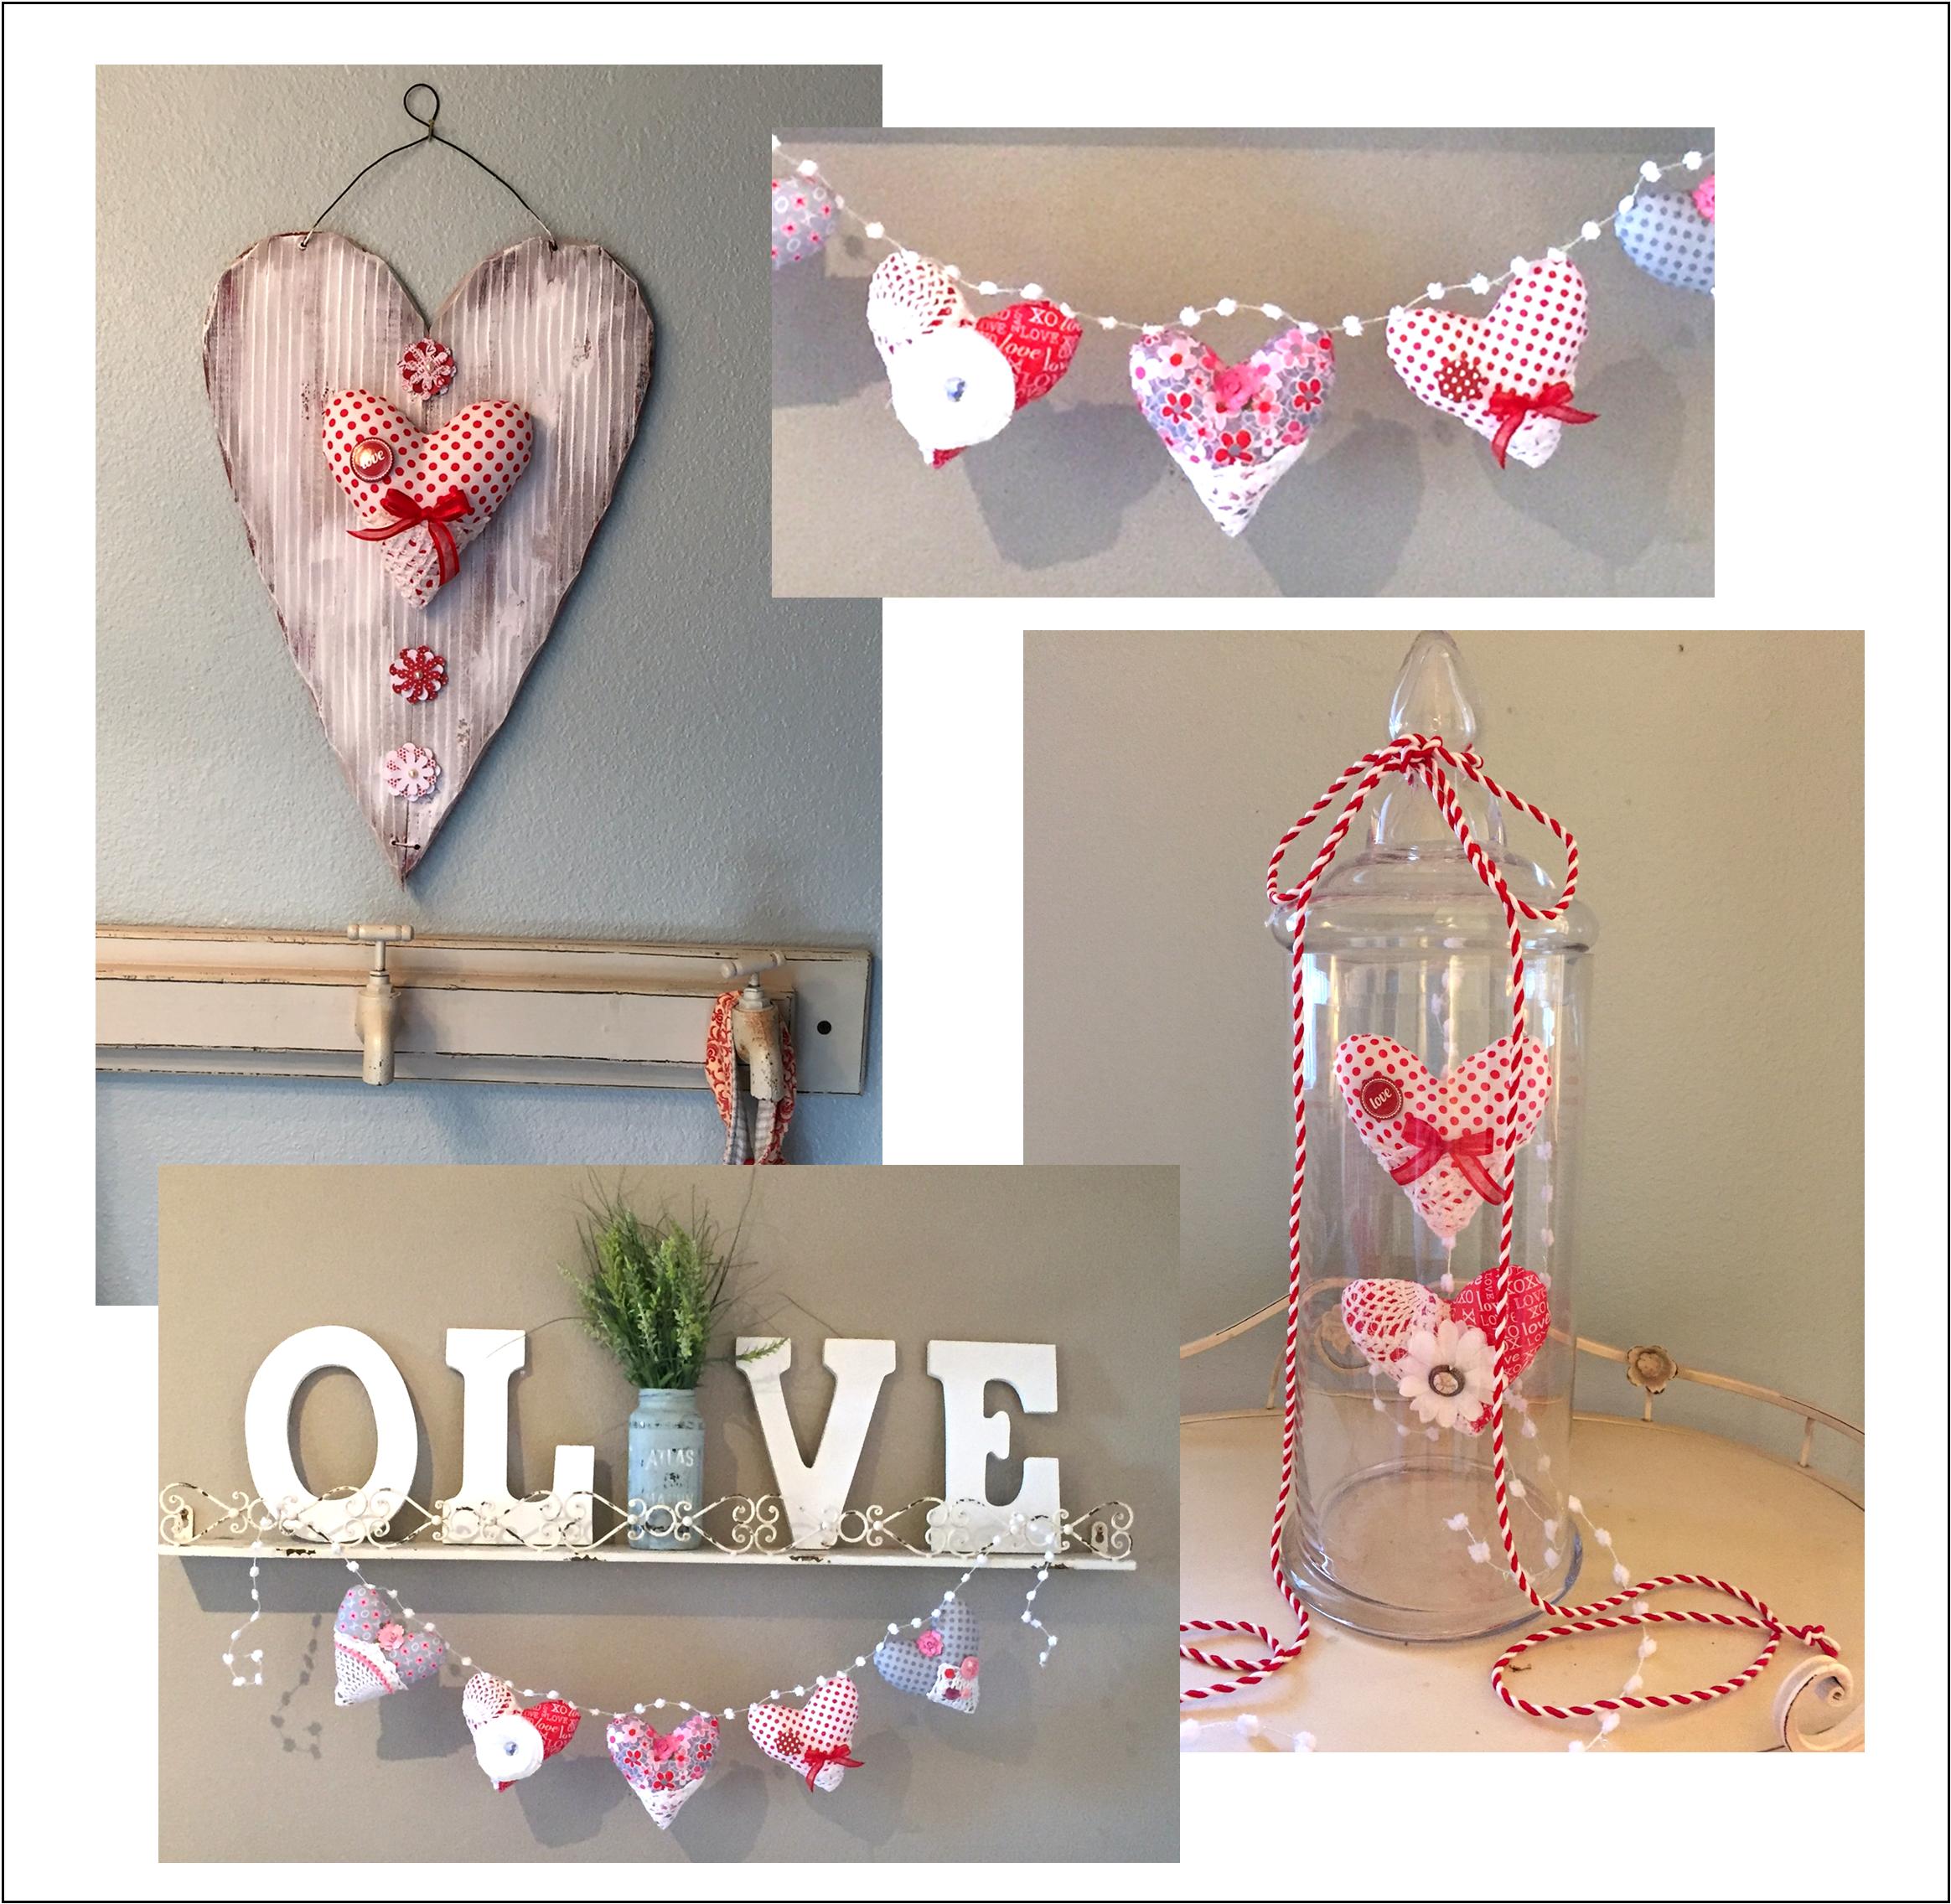
There’s not much time left, but we know you’re going to LOVE Miriam Rawson’s quick and easy (and adorable!) Valentine’s Day craft inspiration in the form of soft scuplture “Shabby Chic Hearts”! You’ll find dozens of creative ways to use these – use her fun suggestions as a starting point for crafts you can enjoy on February 14 and beyond  ; )

SoSweetMiriamPixCOMPSoSweetLoveSingleCard
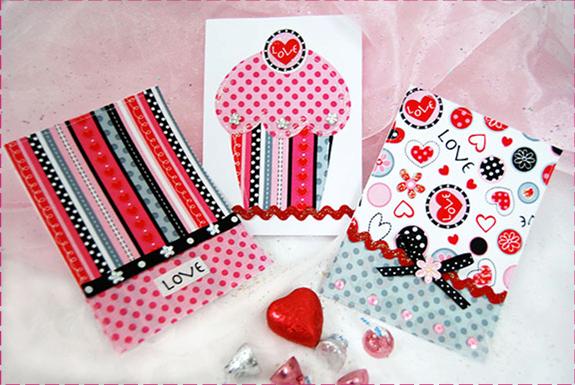
Check out the entire SO SWEET LOVE collection by Susan Cousineau for Studio 37 Fabrics…and ICYMI, take a look at Susan’s own Keepsake Cards – you can even use your embellishments interchangeably for both projects!

Holiday Door Decor, by Miriam Rawson!

Marcus Holiday WreathWho’s looking for simple yet elegant holiday decorating projects?  Look no further than Miriam Rawson’s holiday wreath design – it’s easy to imagine it in country and city settings alike, highlighted by strips of PRIMO PLAID FLANNELS and select colors from our WOOL COLLECTION.

It goes together quickly, so take Miriam’s suggestion and make several, for your own home as well as treasured gifts.  You can even change the fabric colors to suit any room palette, season, occasion, or even a recipient’s favorite colors (imagine it in shades of cream and gold for a wedding, or lighter colors for a springtime door accent…) —  Download the project now!  And check out Miriam’s blog for more great ideas  ; )WreathCU

Sew on the Go…Literally!

Sew on the Go...LiterallyCheck out this adorable sewing machine cover, cleverly disguised as a vintage camper! Even as it was being unpacked and still on the hotel luggage cart, it quickly became one of our more eye-catching – and amusing – booth samples.  Can’t you just imagine the little quilter stitching away inside it?

If you love vacationing with your sewing machine, you pretty much have to have one of these… This one was sewn up by Miriam Rawson in GRACIE’S SCHOOLHOUSE CLASSICS by Judie Rothermel – no better choice for a vintage camper than everyone’s favorite 1930’s reproduction fabrics!  Note that Miriam made hers a bit longer than the original pattern to accommodate her Bernina machine.

<  Need pattern information? The original design for the Vintage Caravan Sewing Machine Cover is by Janine at Rainbow Hare in the UK.


#marcusatmarket #marcusfabrics #quiltmarket2015 #makeitwithmarcusfabrics #auntgrace

Miriam Rawson, Cover Girl!

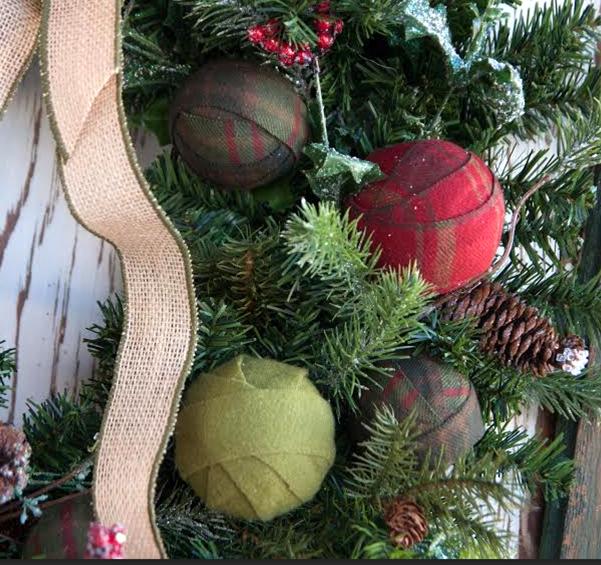
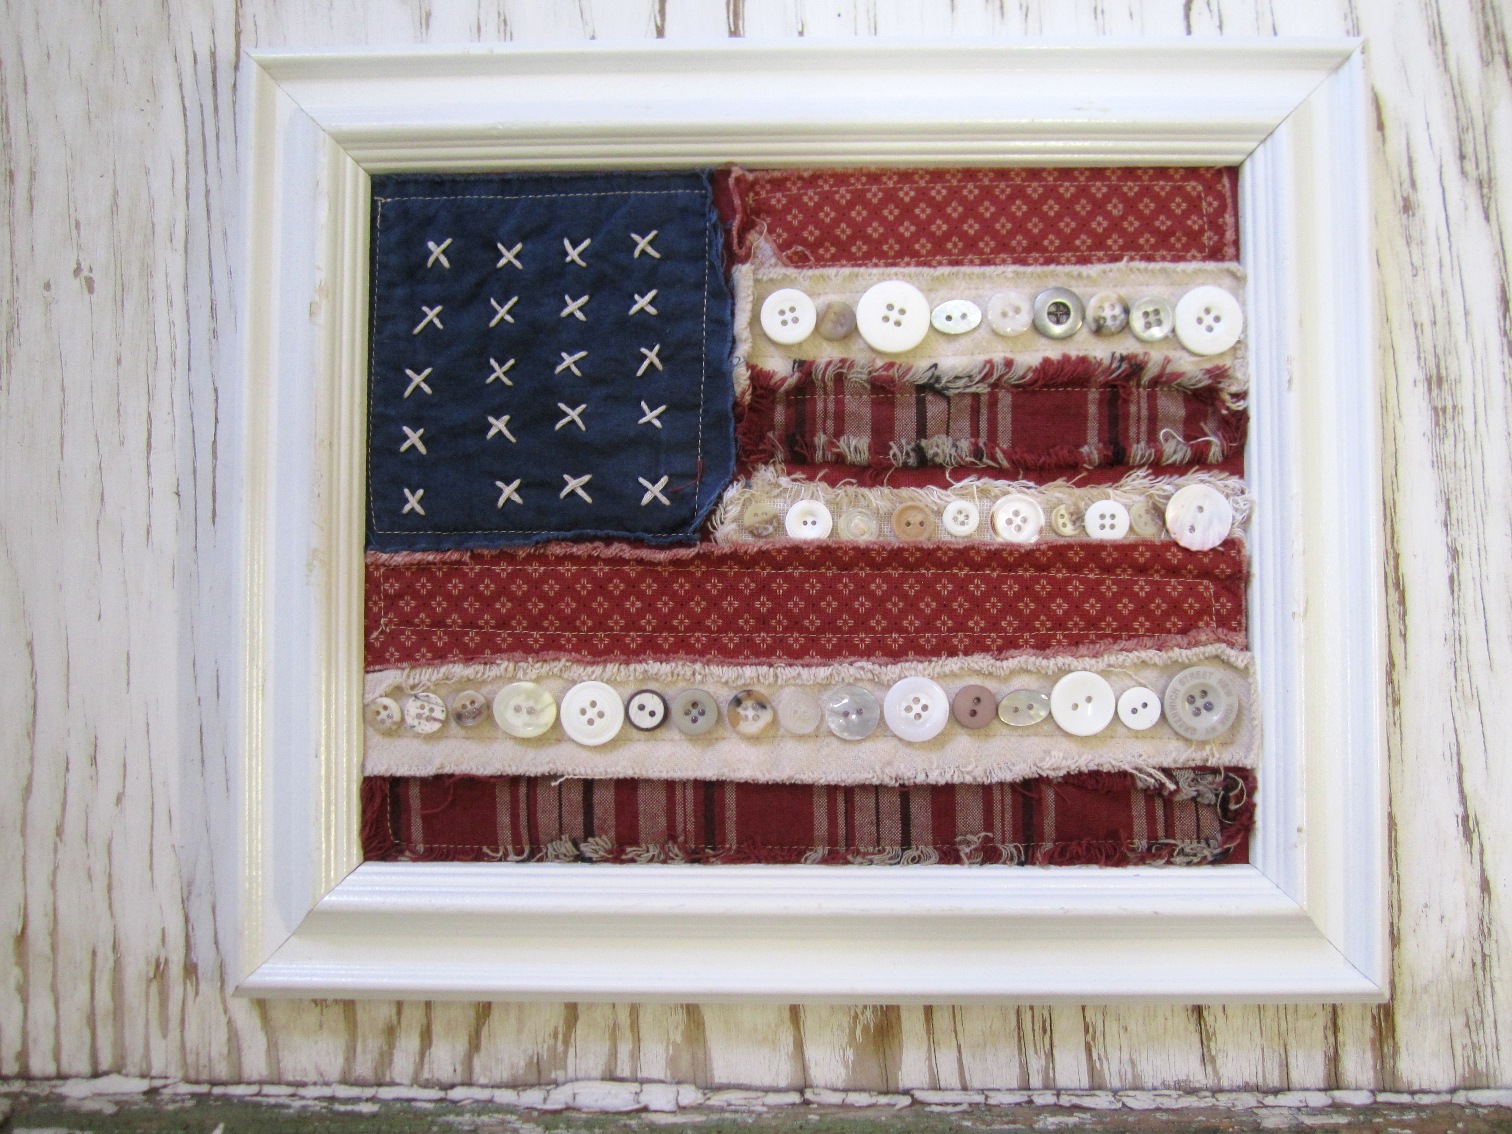
Wow!…We had to share with you this just-released Summer 2015 issue of Primitive Quilts and Projects magazine!  The cover shows off a gorgeous quilt by Miriam Gourley Rawson, talented craft and quilt designer and friend of Marcus.  You’ve seen some of her designs on our website, in out booths at Quilt Market, as well as her own blog, Miriam Crafts with You

Miriam’s cover creation is a Scandinavian-inspired piece that incorporates Marcus wools. Grab the issue for instructions – it’s on newsstands now!  Congratulations, Miriam!

Stitch Miriam’s “Buttoned-Up Flag” for the Fourth!

July4FlagArt-Miriam

This wonderful summer weather makes us all think of celebrating Independence Day, family picnics, lemonade with a hint of mint, tables with red, white and blue decorations, front doors with festive patriotic wreaths, and the great freedom we enjoy in this beautiful country!  Add some “Grand Old Flag” décor to your home with Miriam Rawson’s project – it measures approx 8″ x 10″.

Materials:

  • Fat quarters: Two red prints  and one plain red shot cloth; one cream hand-dyed flannel, one cream shot cloth, and one blue hand-dyed muslin.(Miriam used POMEGRANATE LANE and SHOT-CEE Shot Cloth, but other Marcus fabrics can easily be substituted)
  • 8” x 10” foam core or cardboard to mount the finished piece
  • Embroidery floss, light oatmeal color (Anchor #0388) and needle
  • About 36 buttons, various sizes (cream, tan, etc.)
  • Hot glue gun or white craft glue for fabric

Instructions:

  1. Cut out a 10” x 12” piece of the red shot cloth for the flag backing. Zigzag around the edge with your sewing machine to prevent raveling.
  2. Cut two strips measuring 1 ½” x 22”, of the two red prints, and two strips of the two cream fabrics from the fat quarters.
  3. Cut one 4 ½” square from the dark blue muslin.
  4. Center the foam core or cardboard mounting board onto the red shot cloth and use a Pilot Frixion® pen to mark a line around the board.
  5. The marked border will serve as the boundary of the ‘flag’ components. Start with the left upper corner and pin the blue square in that section.
  6. Starting at the top, next to the blue field, place a red stripe. Trim the right end to fit within the marking.
  7. Add a cream strip, overlapping over the red about 3/8” of an inch. Trim and pin each stripe in place.
  8. When the stripes get to the bottom of the blue field, adjust the overlap amount, if necessary, so the bottom of the blue field and the stripe are even.
  9. Continue to the bottom edge of the flag, starting and ending with red stripes.
  10. Stitch the blue field in place with a 3/8” seam allowance.
  11. Stitch each stripe in place, with a 3/8” seam allowance. Do not stitch through the next stripe—lift it up a little, if necessary so you won’t stitch through both stripes at the same time. This will give the flag a better ‘raggy’ effect.
  12. When you are through stitching, use a light-color pencil to mark  X’s onto the blue field. It doesn’t really matter how many you do—mine ended up being five rows of four, with a total of twenty.
  13. Thread the needle with the floss and stitch each X.
  14. Throw the flag into the washing machine with a couple of old towels. When it is finished, throw it into the dryer.
  15. You may need to trim some of the loose threads which have formed ‘balls.’ Just don’t trim too many of the loose threads. It’s what makes the flag so charming!
  16. Center the flag onto the foam core (or cardboard), and hot glue the edges onto the back. Be careful not to burn yourself!
  17. Hot glue the buttons down the cream stripes, and frame the flag for a nice way to celebrate the birthday of our country!

 Thanks, Miriam!